Table of Contents
Quick answer: To assess leak resistance in a bulk dog water bottle order, test the exact finished bottle, lid, gasket, valve, and bowl configuration that buyers will receive. Agree on fill level, water temperature, how the closure is applied, test positions and durations, dispensing cycles, sample selection, and the pass/fail rule before testing. Record each unit and any leak location. An upside-down demonstration of one sample is not a lot-acceptance plan.
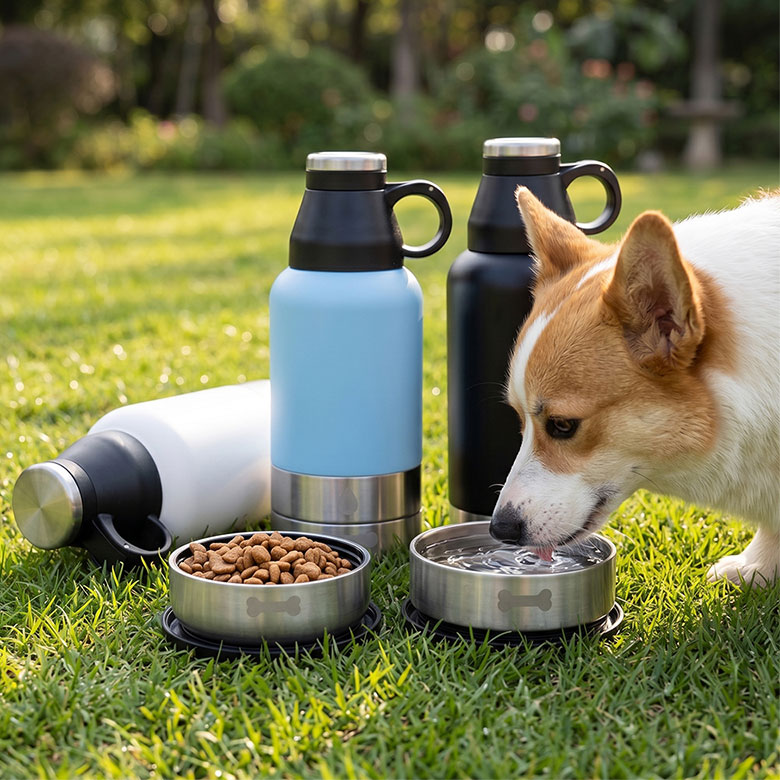
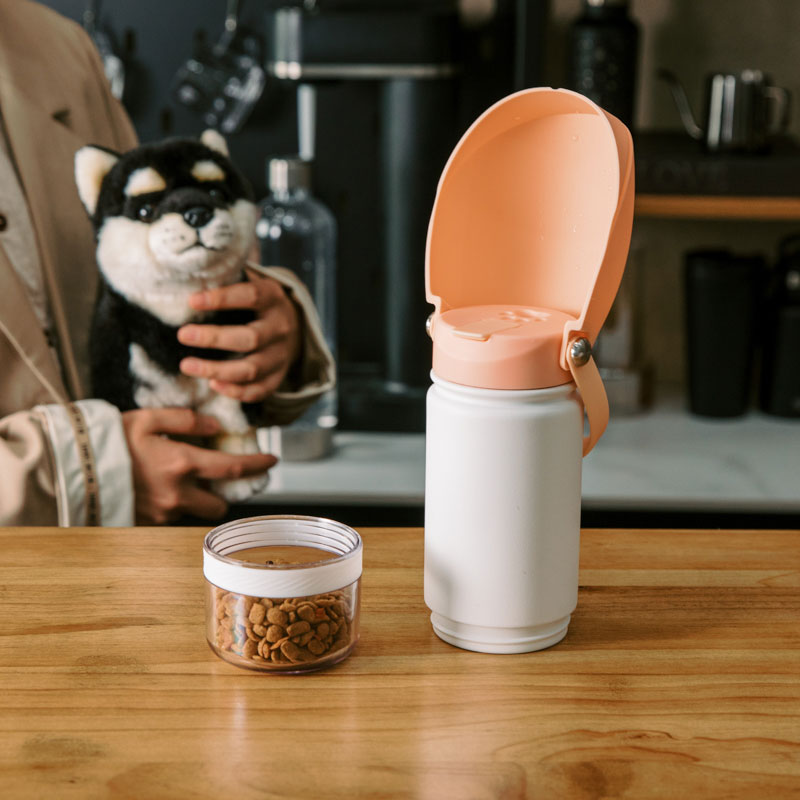
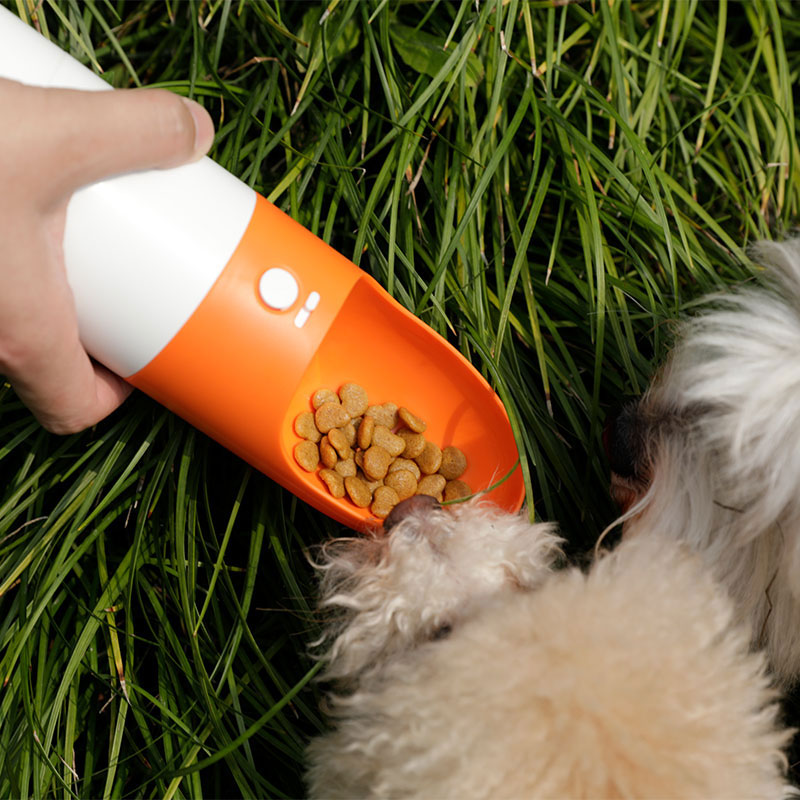
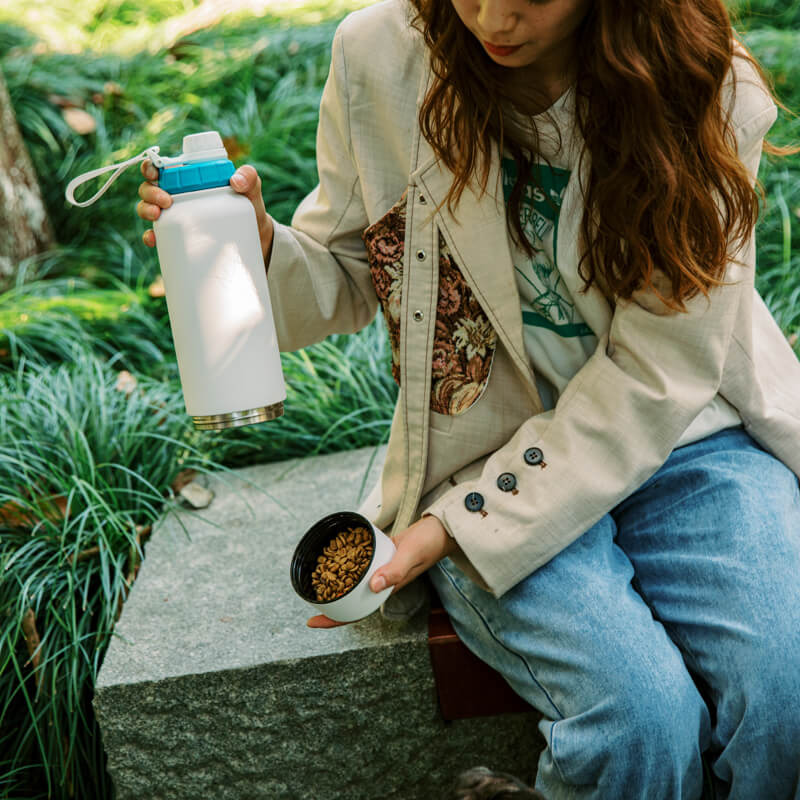
This is a buyer-side checklist to agree with your supplier, not a universal test standard or a claim that every Dokipetty model follows one identical procedure. Different designs create different water paths. A simple screw-cap bottle, a button-operated dispenser, and a bottle with an attached drinking trough do not have the same potential failure points. Dokipetty’s dog water bottle range includes several of these designs; for example, the Leakproof Insulated Dog Water Bottle 22002 has one-press dispensing and a separate food-storage compartment. The test plan should match the selected model and its intended use.
Define “leak-proof” before you test
For a retail buyer, the practical question is not merely “Did this sample leak?” It is “Under which conditions may we describe this SKU as leak-resistant, and how will we decide whether a production lot meets that claim?” Put the conditions in the approved specification and purchase order.
| Item to agree | What the record should identify |
|---|---|
| Product configuration | SKU, drawing or revision, bottle body, lid, seal, valve, drinking bowl, and any customer-specific changes. |
| Intended use | Whether the bottle is expected to remain closed in a bag, travel upright, dispense by button, or tolerate another defined scenario. |
| Preparation | Water fill level, water temperature, conditioning, cleaning state, and the way a user is instructed to close or lock the bottle. |
| Exposure | Positions, dwell time, dispensing and re-closing cycles, and any agreed movement or transport simulation. |
| Pass/fail rule | What counts as external leakage; whether residual drops left in an open trough after drinking are treated separately. |
| Lot decision | Where production samples are taken, how many are tested, how failures are classified, and what triggers investigation or rejection. |
| Evidence | Sample IDs, lot number, date, tester, observations, photos or video, and any corrective-action and retest record. |
Do not use an arbitrary number of minutes, cycles, or samples borrowed from a different bottle. The agreed limits should reflect the design, the customer-facing claim, and the buyer’s risk tolerance. A leak-resistance test is also not a substitute for separate material, food-contact, insulation, or durability evidence.
Seven-step leak-proof test checklist
1. Select traceable, finished units
At sample approval, test the version that will be used for production. At pre-shipment inspection, draw units from the actual production lot, not only from a showroom or retained “golden” sample. Record the SKU and revision, carton or batch identification, and the sample-selection method. If a lid, gasket, mold, or valve changes after approval, confirm whether the old result still applies.
2. Inspect the closure before adding water
Check that all required seals and valves are present and seated correctly. Inspect the bottle mouth, threads, gasket channel, button, and outlet for visible damage, debris, deformation, or assembly mismatch. Photograph any anomaly before adjusting it. A unit that can pass only after a technician re-seats its gasket may not represent what a customer receives.
3. Fill and close the bottle consistently
Use the agreed water volume and temperature. Dry the outside of the bottle and the test surface so a new drop is distinguishable from fill-up water. Close and lock the bottle as the supplied user instructions require; do not add extra force or tools unless those instructions specify them. Record the preparation method and, where relevant, the closure setting or torque defined by the approved specification.
4. Check the closed bottle in each agreed position
Place the bottle upright, on its side, and inverted only where those positions match the promised use or test agreement. Keep each position for its specified duration on a clean, absorbent surface. Inspect the neck joint, body seams, outlet, and bottom of the bottle after each stage. Note whether moisture is a single residual drop from filling or continuing water loss from a closed path.
5. Exercise the drinking mechanism
For button-, switch-, or valve-operated models, dispense and re-close water the agreed number of times. Check that the button returns, the lock engages, and the outlet remains closed afterward. Test the fully assembled bottle, not just its body. If the drinking trough intentionally retains water after use, distinguish that residual water from leakage through a supposedly closed seal or valve.
6. Repeat after normal user handling
If the product is intended to be disassembled for cleaning, remove and reinstall the user-removable parts according to its instructions, then repeat the relevant closed-bottle checks. This can expose a seal that is easy to twist, omit, or mis-seat. Add vibration, impact, temperature-change, or other travel simulations only when the buyer and supplier have agreed on a method and when the product is intended to withstand that condition. Passing a static check does not prove performance after every form of handling.
7. Record the result and disposition
For each unit, record the actual conditions, observed result, and exact wet point. Photograph the label or sample ID together with the test setup, then capture close-ups of any failure. A failed unit should remain identified while the cause is investigated. Record whether the lot is held, sorted, reworked, or retested under the agreed plan; do not simply replace a failed sample with a passing one and report a clean result.
How to describe a leak without guessing the cause
The patterns below are illustrative inspection scenarios, not reported defects from Dokipetty production. They help a buyer ask the next question without presenting an unproven root cause as fact.
| What the inspector sees | Possible area to examine | Useful follow-up evidence |
|---|---|---|
| Moisture appears around the lid-to-bottle joint. | Gasket seating, bottle-mouth finish, thread engagement, or assembly variation. | Close-up of the wet point, gasket position, and the same joint on an approved sample. |
| Drops appear at the outlet while the control is locked. | Valve seating, button return, lock position, or trapped debris. | Video of the closed control before and after dispensing, plus the valve part ID. |
| Water appears only after cleaning and reassembly. | A removable seal that can be installed incorrectly, or unclear user instructions. | Photos of correct and incorrect assembly and a repeat test after reassembly. |
| Water is visible in the drinking trough after use but the closed bottle remains dry. | Residual water in an open, intended-to-wet component rather than a failed closed seal. | The user-use sequence and the agreed definition of “leakage.” |
| Several units fail in the same location. | A common part, process, or assembly change that needs investigation. | Lot and component traceability, inspection records, corrective action, and retest results. |
Photographs should show a real unit and a real observation. A stock photo of a dry bottle cannot establish a leak-test result, and an invented “defect example” can mislead a buyer.
Make the test usable for bulk-order acceptance
Approve a reference sample, but do not treat its result as a guarantee for every later unit. Agree on checkpoints for the finished configuration: sample approval, relevant in-process checks, and pre-shipment inspection. The purchase order should say which lot is being assessed, how units are selected, what counts as a leakage defect, and what happens after a failure. If the contract uses a formal sampling plan, identify the applicable plan and edition rather than writing only “AQL inspection.”
Ask for a report that ties the outcome to the exact SKU and production lot. A useful record includes the product revision, fill and closure conditions, position and duration, sample IDs, results by unit, failure photos, and the person or team that approved the disposition. When a failure occurs, the response should describe containment, the investigated cause, the correction, and a fresh test of affected production—not only a promise to “be more careful.”
What should you request from Dokipetty?
Dokipetty’s public quality-control overview lists leak testing among its inspection items. It does not publish a model-specific leak-test method or acceptance limit on that page. For your chosen bottle, ask the team to confirm:
- Which finished SKU, lid, gasket, and dispensing configuration the report covers.
- The actual fill level, water temperature, positions, durations, and operating cycles used.
- How production units are sampled and how leakage is classified for your order.
- Whether representative setup photos and a lot-linked result record can be shared.
- How a failed unit or lot is contained, corrected, and retested.
If you are still choosing a supplier, use this technical checklist alongside the broader bulk dog water bottle manufacturer guide. If you have already selected a design, send the intended-use claim, target market, SKU, order quantity, and requested acceptance conditions through the Dokipetty contact page. Ask for a model-specific test plan before approving a bulk order.